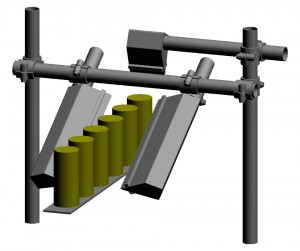
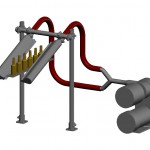
Below, you see a picture of a typical bottle drying setup.
You can see the blower, filter, wye, hose, air knives, mounts, conveyor and bottles. In this illustration, the bottles would be moving from the right to the left. This would cause the air from the air knives to hit the tops of the bottles first and gradually push the water down the bottles as they pass between the air knives.
If you are drying cans, or bottles with wide-mouth lids, we add an air knife above to dry the tops, shown below. Notice that the upper air knife is positioned to hit the top before the side air knives. If you are drying the typical can with a raised lip around the top, or if your cans or bottles are moving at high speed, it may take more than one pass to dry.
The bottoms of cans and bottles are often difficult, because usually bottling/canning conveyors are mostly closed; there is no way to blow air up from underneath. If it is important to dry the undersides of your cans or bottles, you may have to provide a section of conveyor that is more open underneath. Then we can position an air knife to blow off the bottoms.
There is another consideration for bottling lines. There are usually rails on either side of the conveyor that guide the bottles or cans. These rails will block the air being blown by the air knives. They need to be cut to allow the bottle to be properly blown off. The lips of the air knives will act as guide rails in the cut section.
